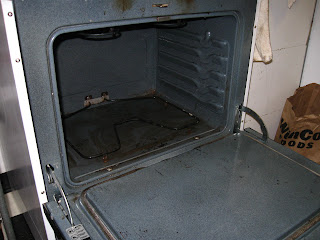
It is finished! I have finally cleaned an oven. And it wasn't too hard. It did take me a couple of days, but that is because kneeling, leaning, and scrubbing was doing a number to my already sore lower back. Then I would get some Braxton Hicks contractions... But it was worth it!
So continuing for Tuesday with Step 5.
Step Five: Scrub Away!
I got a bucket and put some hot water in it to rinse my scrubbie out with. Please do not us steel wool, it will scratch the oven's coating. Use a nylon scrubbie. You can scrub in any order that you would like, I did door, side, top, back, side, bottom. It worked nicely for me.
 |
| Scrubbing away |
 |
| Before Rinsing |
Step Six: Rinse
Spray some vinegar water around the oven, to get all the cleaner out. I sprayed until there wasn't any bubbling around the bolts and things that are hard to get clean. Wipe down the oven and leave open for a couple hours to air dry.
Step Seven: Burn it!
Well, not really. Set you oven to the highest temp setting to burn off any cleaner residue, let it go for an hour or so.
Step Eight: Polish it
After you let the oven cool, wipe it out again with a damp cloth and replace the racks. Now you are done and should back something wonderful in it!
Before and After
So it isn't perfect, but it is way cleaner!
 |
| Bottom of oven, before on left, after on right |
 |
| Oven door, before on left, after on right |
 |
| One side, before on left, after on right. |
Looks great. One day I'll try this. :)
ReplyDelete